

Not logged in


Come with the canvas and threads. In some cases, instructions and other items are included with the kit. These do not include the insert or backing unless specified.
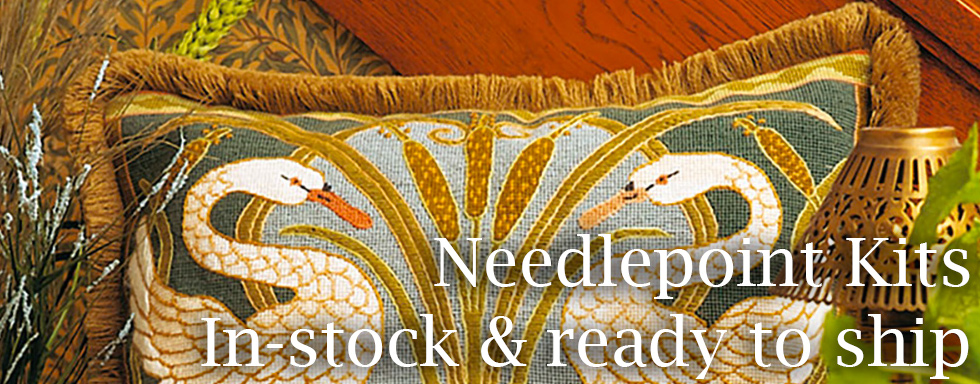
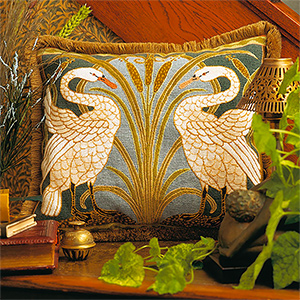
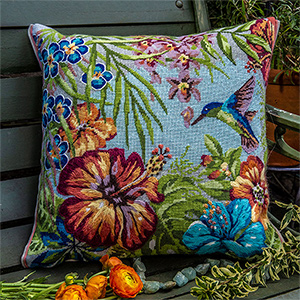
Canvases and kits either specifically for use as cushions or pillows, or that can be used for the same.
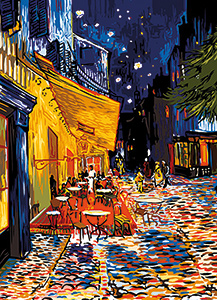
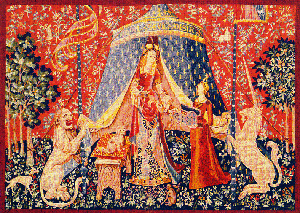
One of our most popular categories - needlepoint canvases and kits based on famous paintings, classic and modern.
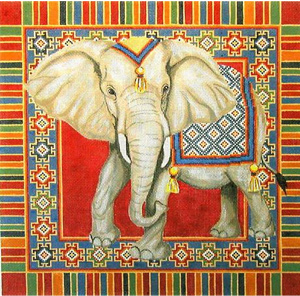
Exquisitely hand-painted, some painstakingly Stitch-painted, by some very talented American painters and designers. Some of the most creative and satisfying items on this site! Custom kits available for any of these canvases.
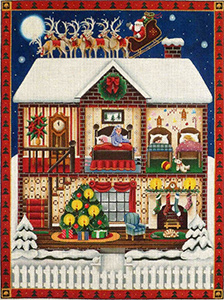
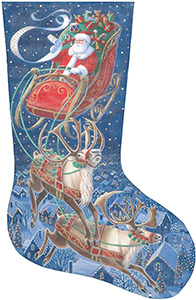
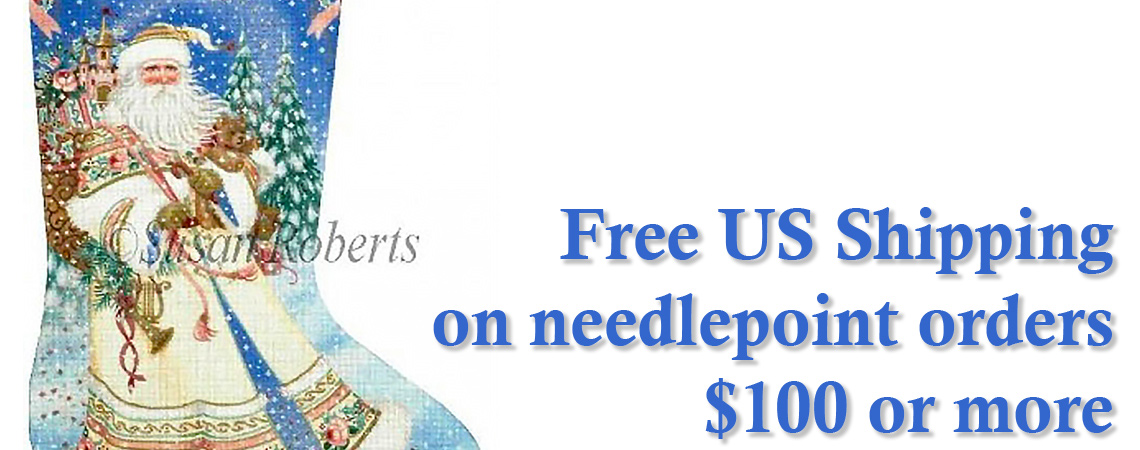
Large Needlepoint Christmas Stockings -
one of our most popular categories.
Kits are available for all of them!
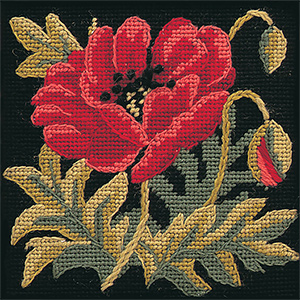
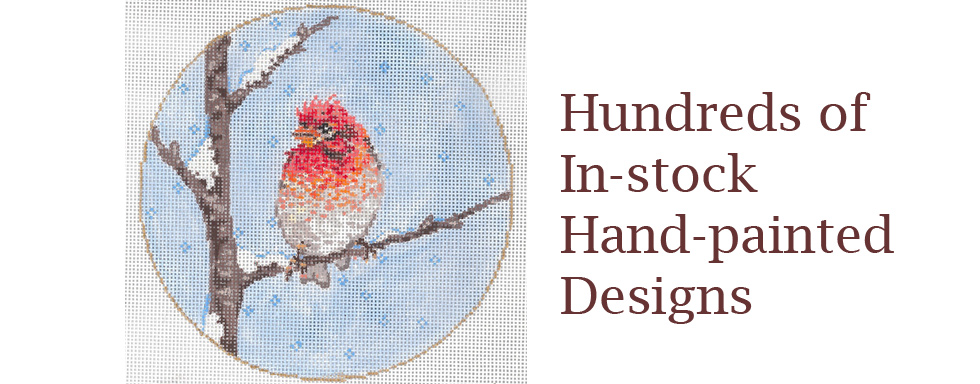
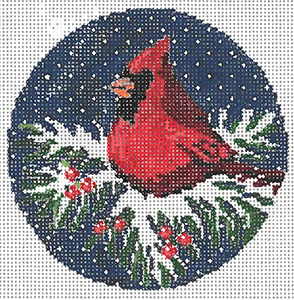
Smaller designs (usually less that 8x8") including the canvas and threads. Some may contain other items in the kit. Excellent for fairly quick projects and take along's for vacations and trips.

Needlepoint canvases that have been printed in the traditional way. These are all available canvas only OR with optional kit.
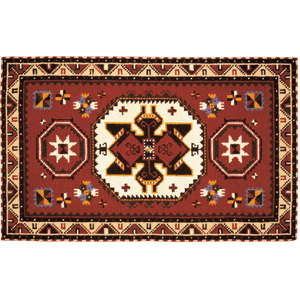
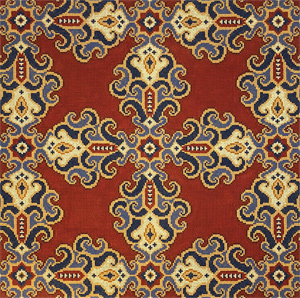
Needlepoint rug kits and canvases. More challenging and more rewarding. Every stitcher should do at least one in a lifetime. You can enjoy the results of this project every day.
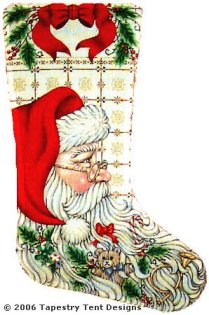
Without a doubt, our most popular category. These stocking canvases have to be seen to be believed. These are also the pieces that we spend about half our time kitting for customers. We encourage you to look them over, make your choice, then let us help you with threads that make it even more stunning. It's our specialty, you might say.
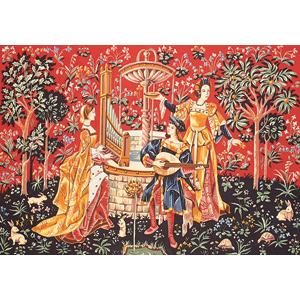

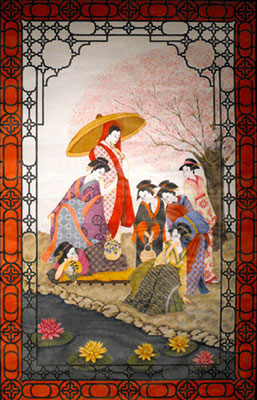
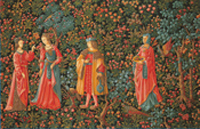
Large needlepoint tapestries and wall hangings - the ultimate in needlepointing projects. You owe it to yourself to do at least one of these in your lifetime.
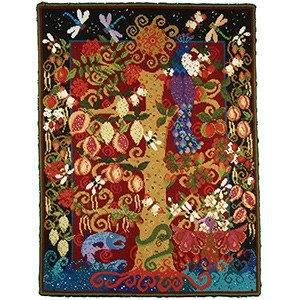
Larger kits designed as wall hangings (or firescreens in some cases). This is the fountain of all needlepoint design, the beginning of the industry.

These are kits including the printed canvas and yarns (includes designs available canvas-only or with threads). Some may also include other items with the kit.
Some recommended items
Current best-sellers
Quick Links
Tell Me More
Account & Help
Log InMy Account
My Cart
My Wish List
Order Status
Track My Order
Returns Policy
Privacy Policy